
cycle_xrandr.py : dual and single displays on Ubuntu
July 10, 2008 at 06:24 AM | categories: python, linux | View CommentsLinux power management has gotten good recently. My last two laptops (HP dv9000 and Macbook Pro) have supported hardware suspend mode out of the box. I'm impressed!
Being that I hardly ever turn off the laptop (I just suspend now) I'm left with an annoyance: I use two displays at work and one everywhere else. In Ubuntu, I was easily able to setup dual and single modes such that when I boot up, Xorg detects how many displays are connected appropriately. But now that I don't turn off the machine, I want to be able to just plug in another monitor and go. I don't want to have to reboot the computer. I don't even want to have to log out. I want to plug the monitor in, leave all my apps running and in the state they are in.
Xrandr does this and it works great. But what if I'm in dual display mode but I only actually have one monitor connected? Can I get to an open terminal to use xrandr? Easily? Probably not.
I wrote the following python script to take care of this. It detects all of the modes that xrandr knows about and cycles to the next size listed. I then bind this script to a custom keyboard shortcut so I don't have to type or even see anything on the screen:
#!/usr/bin/env python
# -*- coding: utf-8 -*-

__author__ = "Ryan McGuire (ryan@enigmacurry.com)"
__date__   = "Thu Jul 10 15:27:18 2008"

"""Cycle through all screen resolutions detected by xrandr"""

from subprocess import Popen, PIPE
import re

size_re = re.compile("^   ([0-9]*x[0-9]*)\W*[0-9]*\.[0-9]*(\*)?")

def list_sizes():
    """List all sizes detected by xrandr,
    ordered by the next resolution to cycle to"""
    p1 = Popen(['xrandr'], stdout=PIPE)
    sizes = []
    current_size_index = 0
    for line in  p1.communicate()[0].split("\n"):
        m = size_re.match(line)
        if m:
            sizes.append(m.group(1))
            if m.group(2) == "*":
                current_size_index = len(sizes) - 1
    return sizes[current_size_index+1:] + sizes[:current_size_index+1]

if __name__ == '__main__':
    Popen(['xrandr','-s',list_sizes()[0]])
New Slacker Screenlet released
April 04, 2008 at 10:43 PM | categories: python, linux | View CommentsCheck it out: I updated my Slacker Screenlet today.
New in this version:
- Bug fixed where the screenlet-manager would respawn infinitely
- Integrated LastSlacker support
You can read more about the original version in my previous post.
LastSlacker is a way to scrobble what you listen to on Last.FM. This lets you share a log of what you listen to with friends. I've been meaning to add this feature for a long time now, until today it's been in a sorta working state for months! It feels good to have finally gotten this project pretty much finished.
Backing up my (online) brain
February 22, 2008 at 11:22 PM | categories: backups, gmail, linux | View CommentsFiles from my computer are disappearing.
No worries though, this is intentional.
As time goes on, more and more of my files are ending up in places like:
- Flickr
- Del.icio.us
And things are great. I can access these services from anywhere in the world, from any computer. What a great time to be alive!
But there is a bit of uneasiness in the back of my mind about all of this. Yes, these services liberate me (as well as my data), but at the same time, I've become a new breed of slave -- my data is no longer mine to control.
Privacy concerns aside, the biggest thing that haunts me is what if one of these services were to blow up? My data would be gone. When the data resided on my computer I could back it up myself anytime I wanted and have some sense of safety. With data on Google's server, honestly I feel pretty darn safe, but the cost of losing my data is still quite high.
My goal: Get my data back into my hands.
I'd like to start writing up my experiences on wrangling all of my data from my online services back onto media I control.
If you want to follow along, I'll be tagging these posts 'Backups'.
Gmail
The first service I'll start with is Gmail. Google, in the realm of free mail hosts, is very accommodating when it comes to accessing your mail in bulk. They have both POP3 and IMAP access. Retrieving your mail with any number of clients is trivial.
But there's more to Gmail than just your email: tags. POP3 won't get the tags, but IMAP will organize tags into folders. However, most IMAP clients only download messages on-the-fly as you read them, not all at once (like for backups).
Solution: OfflineIMAP.
OfflineIMAP will completely download all your Gmail messages into folders corresponding to all your tags. It actually does much more than this, OfflineIMAP is a full two-way synchronization of your email. Once you've downloaded your email you can take it with you while you're offline, read it, delete it and when you come back online you synchronize with gmail again deleting those same messages off of the server and retrieving new messages.
OfflineIMAP works really well for it's stated purpose: using IMAP offline. It is also useful for backing up IMAP accounts but you have to understand how it works so that you don't accidentally start deleting mail from your gmail account. Since we're using OfflineIMAP as a backup device instead of a tool to read our email I would recommend that you never open the email that it downloads with any sort of mail reader. If you do, and you accidentally move messages to a different location (mutt does this to read messages for instance), OfflineIMAP might think you deleted the message and it will delete the same message off your server (In Gmail's case it actually just removes the tag and keeps the message in All Mail, but still..) If you ever need to use the downloaded email, its safer to use a copy instead.
Caveat Emptor. Onward to configuring OfflineIMAP.
On Ubuntu:sudo apt-get install offlineimap
Create a file called ~/.offlineimaprc :
[general]
accounts = GMail
maxsyncaccounts = 3

[Account GMail]
localrepository = Local
remoterepository = Remote

[Repository Local]
type = Maildir
localfolders = /storage/Gmail_Backup

[Repository Remote]
type = IMAP
remotehost = imap.gmail.com
remoteuser = your_username@gmail.com
remotepass = your_password
ssl = yes
maxconnections = 1

#Setting realdelete = yes will Really Delete email from the server.
#Otherwise "deleting" a message will just remove any labels and
#retain the message in the All Mail folder.
realdelete = no
The things you need to change are:
- localfolders - This is the full path to where it will save the email
- remoteuser - This is your gmail email address
- remotepass - This is your gmail password (required for automated backups, otherwise it asks everytime)
You can now run offlineimap and you should start to see it download your email. By default, OfflineIMAP gives you a graphical or textual interface that shows you what it is doing. This is good especially for the first time you download your email.
After you've downloaded all of your email, you'll want to automate the task so it runs at least every day:
Put the following in your crontab:
00 23 * * * offlineimap -u Noninteractive.Quiet
This will run OfflineIMAP everyday at 11PM.
Again, because OfflineIMAP is not technically a backup solution in itself, you might also care to make a seperate rsyncd copy of the mail somewhere else:
rsync -a /storage/Gmail_Backup/ /storage/Gmail_Backup_Copy
You can similarly run rsync in your crontab after your offlineimap finishes. By making this seperate copy, you avoid the possible deletion of emails by OfflineIMAP. This second copy will also retain messages that you delete later on in Gmail (The offlineimap syncd copy will not). This may or may not be what you want.
Stay tuned for the next installment: Flickr backups!
Slacker Screenlet
November 20, 2007 at 12:54 PM | categories: python, linux | View Comments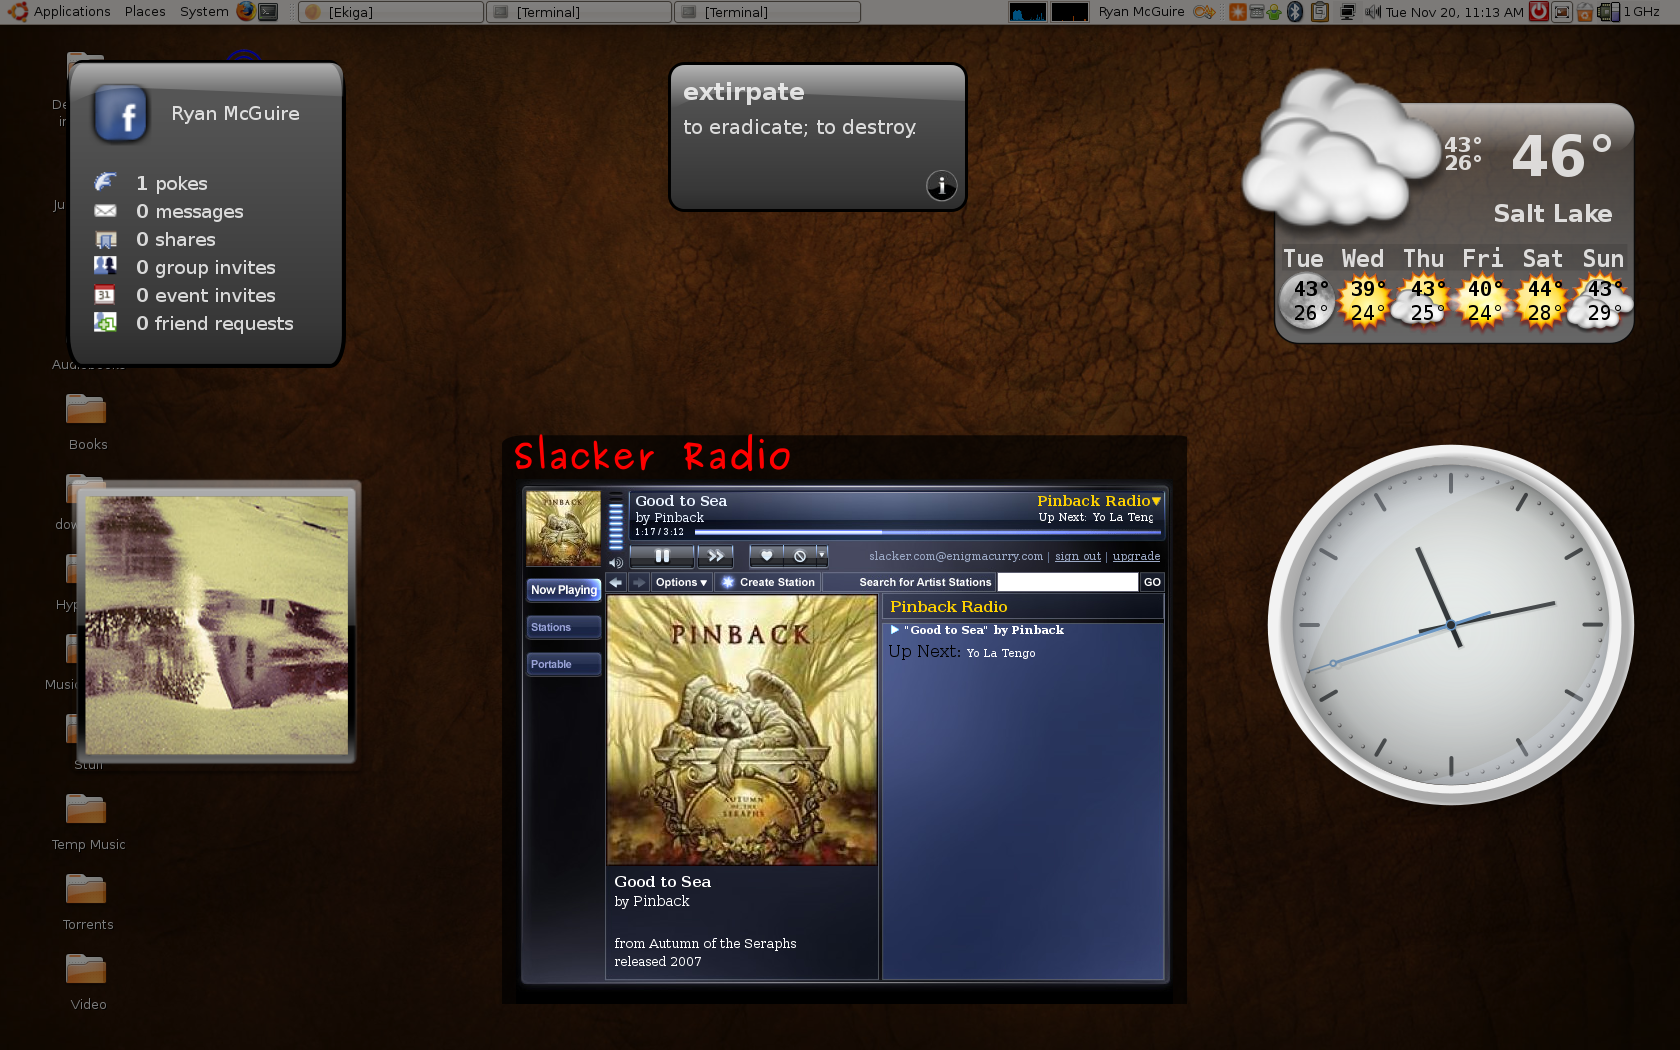
Having an absurdly large music collection can sometimes have it's downsides. Slacker is a nice way to listen to music when you can't decide what to listen to. Like with Pandora or Last.fm, you can create your own radio station by telling the player what kind of music you like and the player will automatically choose music to play for you. With Slacker, you can customize how much or how little new music you want to allow into the mix, which is the main reason I prefer it over Pandora.
On Windows, Slacker has created a nice standalone player. On Linux or Mac you're stuck with the web player. The nice thing about a standalone player is it won't interfere with my habit of closing my browser (thus killing my music). I decided I needed to find a way to separate the player from my main browser.
Screenlets are little, graphical, single-purpose eye-candy (written in Python :)). They can do things like show you the time or the current weather forecast, CPU load, the word of the day etc. Compiz allows these applications to run in their own layer such that they can appear and disappear quickly with the press of a button. They are quick and easy to get to, but stay out of your way when not needed.
I decided a screenlet for Slacker would be ideal, so I wrote one.
You can download my Slacker Screenlet for yourself.
Also see the following:
Building Multi-TTY Emacs from CVS on Ubuntu Gutsy Gibbon
October 21, 2007 at 06:25 PM | categories: emacs, linux | View Comments(Historical note May 2008: The build instructions below, while they should still work, are unnecessary as Multi-TTY has been merged into the main Emacs 23 branch and is available in ubuntu repositories: apt-get install emacs-snapshot)
Last spring I wrote an article about Multi-TTY Emacs. I had promised that I would update instructions for building it on Ubuntu, but since then I have been mainly using Gentoo on my laptop and never got around to updating it. Sorry :)
I switched to Ubuntu Gutsy Gibbon yesterday. I also got Multi-TTY Emacs running, and here's the video to prove it (If this is too small to see, download the original ogg theora version) :
« Previous Page -- Next Page »
Contact me
Friends
- brainjack>>
- Duane McGuire - My Dad
- Erin McGuire - My Sister
- Heavy Noir
- OneWatt
- Six Mile Village
Liberty Links
Categories
- android (rss) (1)
- backups (rss) (1)
- blogofile (rss) (1)
- car computer (rss) (1)
- cats (rss) (1)
- class work (rss) (1)
- cool stuff (rss) (9)
- curlbomb (rss) (1)
- diy (rss) (1)
- economics (rss) (2)
- electronics (rss) (1)
- emacs (rss) (13)
- enigma curry (rss) (8)
- enigmacurry.com (rss) (1)
- free state project (rss) (3)
- games (rss) (1)
- geek humor (rss) (3)
- geeky (rss) (2)
- gmail (rss) (1)
- gnome (rss) (1)
- hd-dvd (rss) (2)
- humor (rss) (2)
- java (rss) (3)
- letters (rss) (2)
- liberty rants (rss) (42)
- linux (rss) (20)
- lisp (rss) (1)
- michael badnarik (rss) (2)
- mitt romney (rss) (3)
- music (rss) (1)
- n800 (rss) (1)
- openoffice.org (rss) (1)
- php (rss) (1)
- pissed off (rss) (3)
- python (rss) (31)
- ron paul (rss) (9)
- security (rss) (5)
- software (rss) (1)
- stupidity (rss) (4)
- uncategorized (rss) (6)
- videos (rss) (9)
Archives
- May 2016 (1)
- July 2011 (1)
- September 2010 (1)
- July 2010 (2)
- April 2010 (1)
- January 2010 (1)
- December 2009 (1)
- July 2009 (1)
- May 2009 (2)
- March 2009 (1)
- January 2009 (4)
- December 2008 (3)
- November 2008 (2)
- October 2008 (1)
- September 2008 (1)
- August 2008 (3)
- July 2008 (1)
- May 2008 (2)
- April 2008 (2)
- March 2008 (1)
- February 2008 (2)
- January 2008 (1)
- December 2007 (1)
- November 2007 (5)
- October 2007 (7)
- September 2007 (3)
- July 2007 (3)
- June 2007 (3)
- May 2007 (3)
- April 2007 (3)
- February 2007 (2)
- November 2006 (1)
- October 2006 (3)
- July 2006 (1)
- June 2006 (1)
- May 2006 (2)
- April 2006 (10)
- February 2006 (2)
- January 2006 (6)
- December 2005 (1)
- November 2005 (5)
- October 2005 (3)
- September 2005 (2)
- August 2005 (5)
- July 2005 (1)
- June 2005 (2)
- May 2005 (7)